Thursday, December 1, 2011

CCC (best craving curber ever!!)

i won't bore you with why i haven't blogged in a bit...I'll just get right on with it! :)

           I've never been a super cookie fan.  Maybe it's because I'm really not that good at making cookies.  Honestly my cookies never turn out!  They're either too thin, lacy, crunchy, etc.  I've just come to accept the fact that I was never meant to make them.

           All growing up the only cookie to ever grace the oven (that I really remember) was that one cookie that surpasses all others.  The craving you get at that time of the month.  The one that reminds you of home when you're so far away.  The chocolate. chip. cookie.  Oddly enough I never really bake something when I'm having a craving.  Only when I want to experiment with a new recipe.  But being sick and hacking up a freaking lung, there isn't a whole lot to do around the house.  And I can only watch so much TV before A) I want to scream and B) start thinking about food (damn food channel).  So the natural thing to do was go to the kitchen!  I used a recipe from my Baking Illustrated cookbook (by the editors of Cooking Illustrated).    Their thick and chewy chocolate chip cookies did not disappoint.  Best cookie ever!  And they came out looking absolutely bakery worthy (which is a must in my book ;).  So i present to you the perfect chocolate chip cookie.  EnJOY!!!


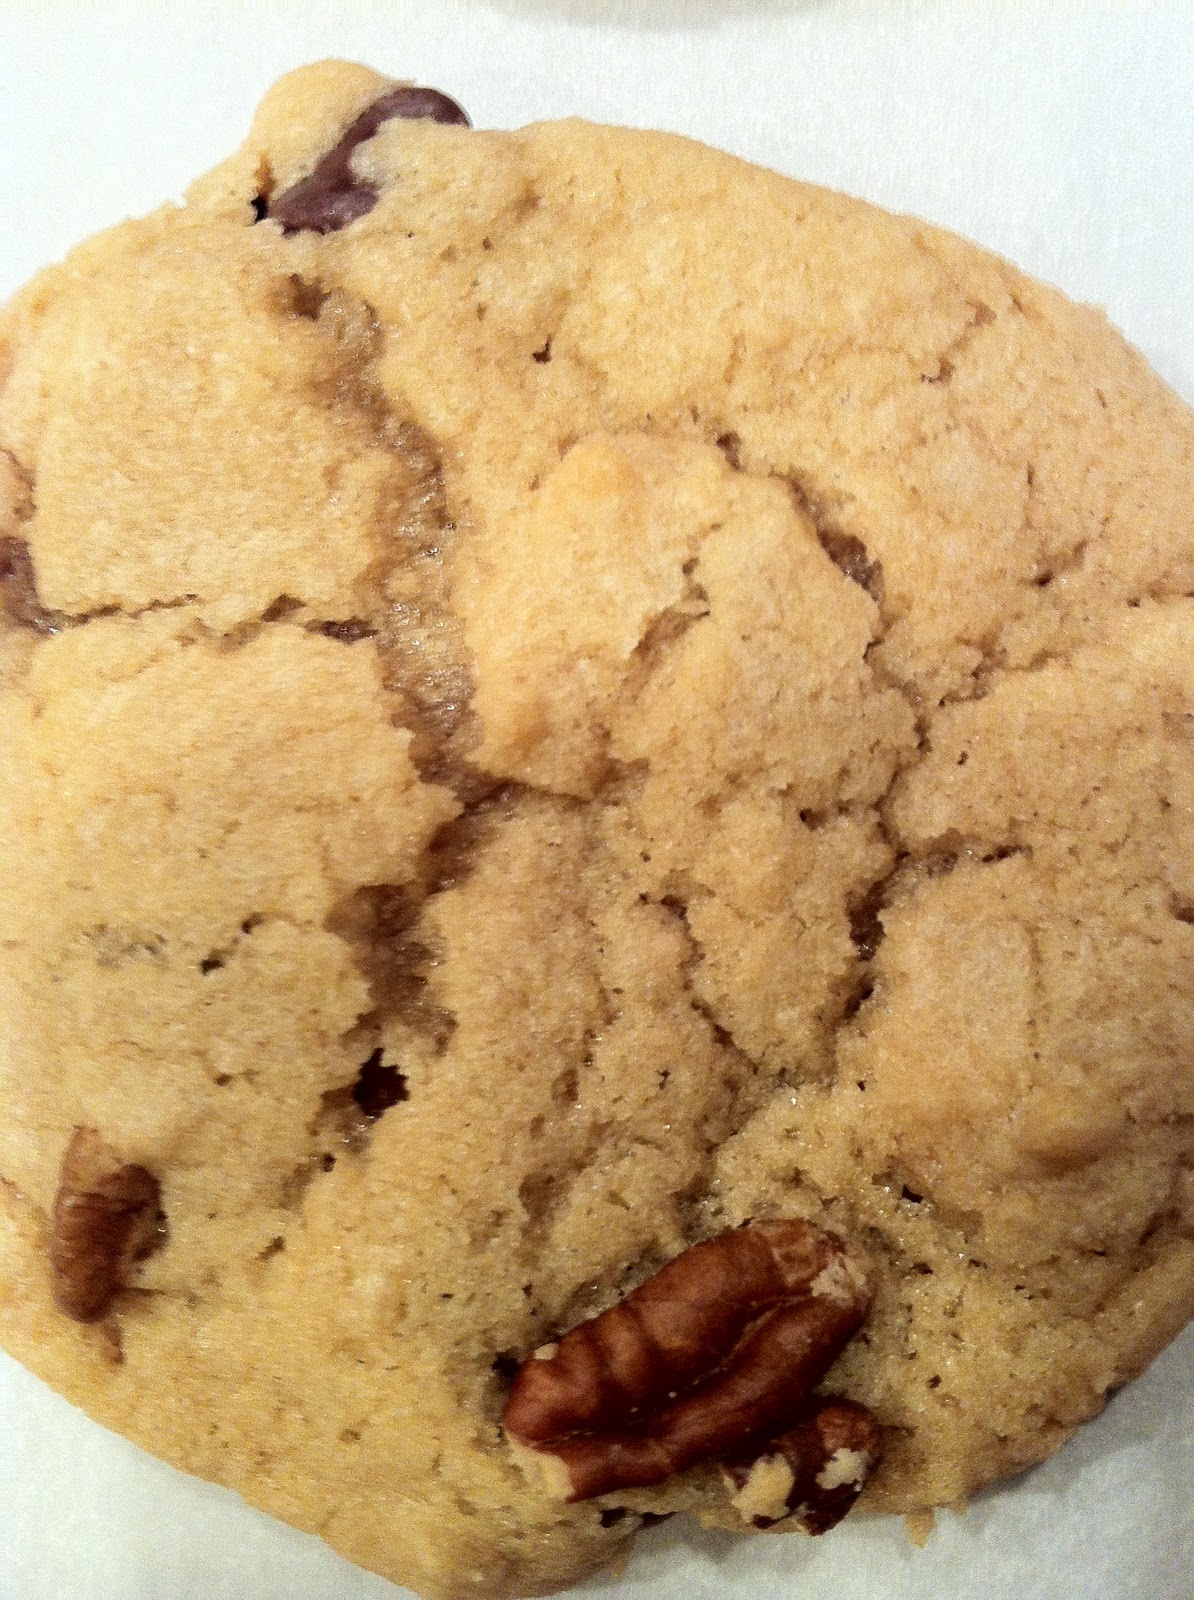
Thick and Chewy Chocolate Chip Cookies
                        (Baking Illustrated)


Ing: 2 cups plus 2 tablespoons unbleached all-purpose flour
       1/2 teaspoon baking soda
       1/2 teaspoon salt
       12 tablespoons (1 1/2 sticks) unsalted butter, melted and cooled until warm
       1 cup packed light or dark brown sugar
       1/2 cup granulated sugar
       1 large egg plus 1 egg yolk
       2 teaspoons vanilla extract
       1-1 1/2 cups semisweet chocolate chips


1. Adjust the oven racks to the upper and lower- middle positions and heat oven to 325 
degrees.  Line 2 large baking sheets with parchment paper or spray them with nonstick cooking spray.
2. Whisk the flour, baking soda, and salt together in a medium bowl; set aside.


3. Either by hand or with an electric mixer, mix the butter and sugars until thoroughly
blended.  Beat in the egg, yolk, and vanilla until combined.  Add the dry ingredients and beat at low speed just until combined.  Stir in the chips to taste.
4. Roll a scant 1/4 cup of the dough into a ball.  Bake until the cookies are light golden brown and the outer edges start to harden yet the centers are still soft and puffy, 15-18 minutes, rotating the baking sheets front to back and top to bottom halfway through the baking time (mine were perfect at about 16 minutes, but everybody's oven is different so i would advise just setting the timer for 15 and then checking to see how they are doing and go from there).  Cool on cookie sheets.


This is seriously the easiest recipe ever.  Maybe it's because i try all these extravagant recipes that literally take half a day to make one dessert --haha.  After making these once you will not hesitate to make these often.  I'm not judging if you make a whole batch and secretly eat them all before the kids get home from school (hey you have to make sure the dough tastes good AND taste test the actual cookie so as to make sure it's eatable. and trust me....these are sooo edible :).


P.S....if you are one who loves cookie dough (ummm as
 in you make cookie dough to just eat the dough, having 
NO intention whatsoever to make an actual cookie) then 
i would say this dough is OK. If you want to make 
dough just to eat the dough then I would go for the 
Nestle Toll House cookie recipe. That dough is a-mazing 
(but i can never get those to turn out!)

Monday, November 14, 2011

my DreAM!

Over a year ago I decided to bake a cheesecake.  A New York Style Cheesecake to be exact, with a strawberry topping, for a girl's night.  That fateful night has turned out to be the starting point of a wonderful hobby.  At least that's how it began.  This hobby of mine grew into a love. That love then grew into a passion.  A fiery passion that feels me with so much happiness I almost can't contain myself opening up a package of butter.  Dreams of pastries, artisan breads, and chocolate ganache are constantly swimming around in my head.  Just the thought of owning my own bakery is...ahhhh...amazing!!!!  It will be something people have never seen before, something that will almost transfer you back to another place or time.  Although I know it will be a while before this happens, the point is I have a dream.  I've never had something I want more badly than this!  Having a dream is wonderful.  It makes you get up in the morning.  It puts a smile to your face and suddenly the day is better and brighter.  It's something to look forward to.

Baking is home.  When it seems like nothing can go right, and the world is against me, I can bake that 3 layer german's chocolate cake, and voila!  Sigh of relief :)  I'm pretty sure there are stress relieving properties in the stirring of cake batter and the whipping of egg whites.

So...my challenge to whoever is reading this: if you have a dream, go for it!  Doesn't matter what it is.  It can be wanting to graduate from college and be a nurse or doctor.  It can be wanting to be an olympic swimmer or fly to Paris.  No matter how big or small the dream, don't let it go!  Hold on to it, nurture it, make it happen!  Want to fly to France??  Learn a new language! Haha...whatever the case, just DREAM!

Friday, October 14, 2011

Orange Dreamsicle Tart!

It seems that there are two kinds of people....

 The kind that love lemon and the ones that don't.  I tend to lean towards the loving lemon side.  I'm not as big a fan as my mother who could eat lemon bars for breakfast, lunch and dinner.  Now when it comes to lemon for me it needs to be tart.  It simply is not worth baking or eating if it isn't so tart you practically pucker up!
  Still working on getting things pucker worthy, but I did try a recipe by Matt Lewis and Renato Poliafito, the authors of Baked.  It actually includes both orange and lemon juice/zest, but the lemon sort of overpowered the orange.  Not that i or anyone was complaining.


 The dough was so extremely sticky I couldn't put
enough flour down to keep it from sticking to everything!  To be fair the recipe did say that it would be sticky, but still...holy hannah!  I ended up piecing it together in my tart pan.  Still tastes good.  And nobody would know the difference anyway once I covered it up with the filling.  After everything was baked it was time to make the topping.


  A fluffy mass of sweet goodness (aka sunkist spiked whipped cream).  It is ever so satisfying to have something I bake look just like the picture AND taste nummy at the same time.  Needless to say as soon as it came in to view (I brought it to work) it did not last long.  It tasted like a very liGht lemony, cusTArdY mixture with a  slightly sweet crust.  Just the right balance of lemon and sweetness.


Something a lemon lover would definitely appreciate.  

Saturday, October 1, 2011

carbs...part one

I can make a cheesecake no problem for you, but if you ask me to make you something doughy....that might be a problem.  See in my future bakery i really want to have this whole section of artisan breads.  Breads you wouldn't necessarily find in a Smiths.  What exactly that entails is still in the works, but i've decided i need to get my practice on.  Dough....specifically bread dough....is not my forte.  It could BE my forte if i actually started making breads.  Which is what i decided to do this warm september day (i know right? warm...it's september for heaven's sake.  i need the fall weather!)  Anyway, I started by making Danish dough.  SO, i advise anyone making bread dough to make sure you have added the right amount of yeast for the right kind of yeast.  I tend to just rush over things as in not really reading everything before i begin.  (kind of like when i start playing a piano piece and not looking at the key before i begin...i'm impatient ok!!)  Well for the type of yeast i was using i added tablespoons when i should have only added teaspoons.


what dough looks like when you add right amount of  yeast.

what dough looks like when you add TOO much yeast.
I figured that a little added yeast wasn't going to hurt anything so i went ahead and made what i was planning to.  The first were cheese danishes.  I didn't realize how much work it takes to just do one batch of danishes!! (Yield:12).  So if you ever go to a bakery and complain that a cupcake or pastry costs so much money, it means there was a lot of time, sweat, and effort put into making just one! (well, hopefully they emitted the sweat from the recipe.)  There are what's called single and double turns.  It's different for Danish and Croissant dough.  Basically you do a turn and chill for 15 minutes, do another turn, chill, one more turn, chill.  When I was done i froze the dough for about 3-4 days (minimum of 2 days before you actually bake the bread.)  According to Sarabeth ( Sarabeth's Bakery),...well hell, i'd quote her here, but her book of mine is suddenly missing.  Basically it makes the dough flakier when baked.  After all the turning was done I cut the dough into 12 evenish pieces.  The cream cheese was then put smack dab in the center of the square.


Now for this first batch i tried and could not get it to rise!! Grrrr.....so frustrating.  My kitchen probably wasn't warm enough.  This was Sarabeth's instructions.  As you see in the picture below i put a glass of very hot water almost in the center of the pan and then tied the bag at the end so it would hold in some heat and hopefully help the dough rise.  


In the end, the poor wittle danishes that could have been, but were not, didn't really do anything.  After pretty much and hour and a half.  Go me :)  Hence the practice right?? So, i went ahead and baked them.  They looked like little alien pods ready to explode.


 ANd that's all i have to say about that.

le desastre

So....this one day i decided i was going to bake a cake.  And not just any cake.  This was a most deliciously moist creation from Kierin Baldwin, pastry chef at The Dutch in NYC (bon appetit).    It was supposed to be Devil's Food cake with this nummy frosting.....
FAIL!
Here's what i did wrong.  See i did the usual butter the pans and then put a round of parchment paper in the bottom of the cake pans.  Good to go right?.....wrong!!!  I made the cake the night before and thought it would be just fine to put them in the freezer overnight.  OK...so this would have worked if i was working with my old freezer.  But my parents decided to get a new fridge and the bottom freezer actually freezes food.  This is why i had my next problemo.  I got up the next morning thinking this is going to be a most awesome cake....not.  As the above photo shows you i had a hard time getting it out of the @*%$#! pan :)  The butter that i nicely buttered the pan with had frozen to the parchment paper.  I created many a dent in those stupid pans trying to get the cake out because i was bound and determined to put this cake together!
I ended up taking it to work and it was eaten, so i guess it tasted ok? haha.  But you know nurses.  They'll kind of just eat whatever is sitting in the break room ;) I always have a hard time with these super moist cakes without it completely freezing to the pan itself.  Next time i'm not going to effing freeze anything!!  Dumb new fangled fridge.  Why!?!  Why must you be so cold.  I finished off the broken layers with this awesome frosting where you pour hot syrup into beaten egg whites (that will definitely be a future post.)  Oh my IMCers.  Thank you for being my guinea pigs! It is most appreciated.

Thursday, September 22, 2011

MMP (aka Mississippi Mud Pie)

Some of you IMC peeps might remember this dessert i brought to work a while back.  This dessert is not for the faint of heart.  You must be quite the lover of chocolate.  It begins with a food processor and a 


package of oreos.  I blended till the oreos were supa fine....then you add 5 tablespoons of 'that which makes all things better' (aka butter) and mush everything together.  Then i mushed it all in a springform pan.  If you don't know what a springform pan is or have never even heard of it (which is quite! the shame) check one out here.  


   After baking the crust, en chocolat was added to the pot of melting butter.  Now on the next step, which includes whipping up egg whites, i think some people are scared to do it!  Which, like anything, with a little practice is not so complicated as first thought.  One key thing i like to do is add a dash of cream of tartar.  This will add a pretty gloss to the end result.  So, here i whipped the egg whites till they were foamy. 


 I then added the sugar gradually and whipped until they were at soft peaks (meaning when you lift up the beaters they still droop slightly).   


There are a few other steps like beating the egg yolks and folding the egg whites into the chocolate mixture to make the next layer...a flourless chocolate cake! This also takes some getting used to....because if you don't whip up the egg yolks and egg whites just right it won't turn out. Practice, practice, practice!!! :) 


While that layer is cooling i got started on the chocolate pudding, which is the final layer to this luscious creation (made possible by Matt Lewis and Renato Poliafito, the authors of this fabulous book).  Whenever making a flourless cake it        will fall like so:
<--------------------
So do not be frightened!

After the painful waiting for each layer to refrigerate i added the chocolate pudding to the flourless cake....and voila!!  Deliciousness at your fingertips.
Please mind the messiness.  Since I just made this for home i didn't really take care to make it look super professional looking.  But believe me.....it was yUMmy!! I think the key to this recipe and any super chocolatey recipe for that matter is to use quality chocolate. Valrhona chocolate is my current favorite.  Above anything their cocoa is absolutely to die for!!  If i couldn't buy anything else i would still buy their cocoa.  It's that amazing :)  As far as store brands go i do like Ghirardelli chocolate.  Believe me when i say it DOES make a difference.


Wednesday, September 21, 2011

the first adventure of le casserole bain-marie!!

So....for forever i have been wanting this glorious piece of kitchen equipment.  But somehow the name 'kitchen equipment' just doesn't cut it.  This beautiful stainless steel piece of wonderfulness has been at the tip topity of my list of things to buy.  A pyrex bowl over a pan of simmering water has had to suffice ever since my love of baking was in its infancy.  Then one day (just so happened to be my birthday) i awoke to an ordinary seeming day...who am i kidding...there was something in the air as i left my room.  I walked into the kitchen to find the table filled with fantastical things all for moi!!  And what to my wondering eyes did appear, but that melter of all things chocolate and beyond.....a dOUBle BoiLEr!!!  Never will there be another ring upon my mother's non-stick pans.
 The first recipe to grace my DB was a mississippi mud pie.  The butter was dropped into the top sauce pan and immediately started melting into a beautiful mess.
  Then the greatest of all chocolate (that i have come across) was added and this is what you come up with.  A velvety pot of honestly the most richdecadent tasting chocolate.  It trumps your store bought chocolate ANY day of the week.  If you ever want to splurge, this is the way to go.  Anyway....back to the DB.
    After letting the chocolate cool before adding it to the rest of the recipe the 'little pot that could' was not needed anymore.  Not that it was forgotten.  It will be used numerous times in its future.  And besides it's Martha Stewart's brand.  It should last forever right?? Mmmmm....let the chocolate start rolling...erm....into my mouth. ;)

Tuesday, September 20, 2011

The thing that makes eVeRYthiNg better...


Everybody do me a favor.  Open up a stick of Land o' Lakes butter...and just smell the wonderfulness that omits from that wonderful flavor protectant wrapper.  Pure Happiness.  You're welcome :)